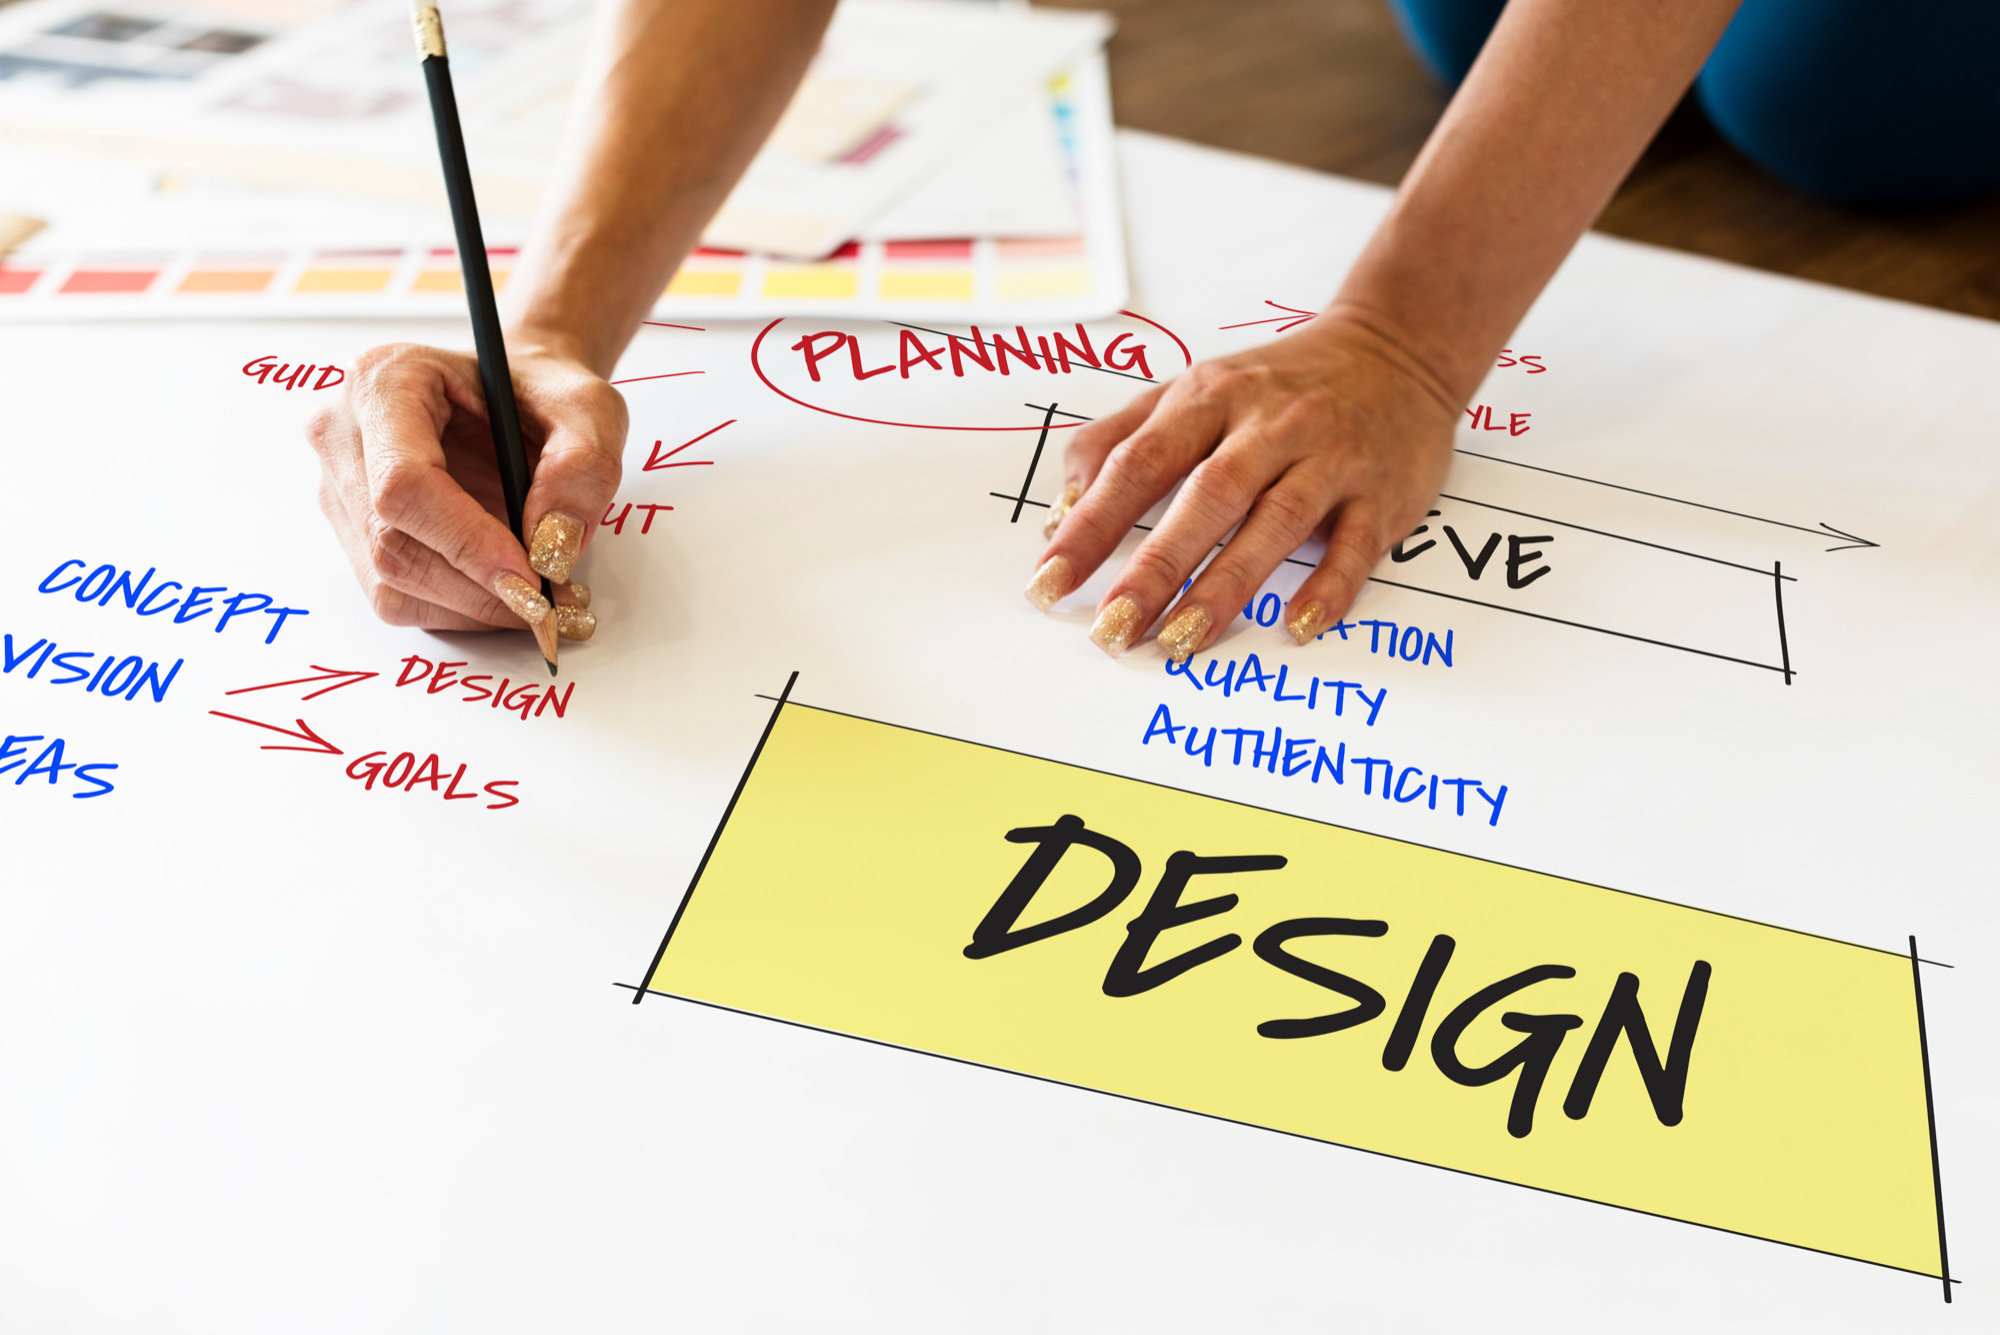
Beginner’s Guide to Graphic Design: From Idea to Execution
By nexumbit • July 15, 2025

Graphic design is more than just making things look good—it’s the art of visual communication. Whether you're creating a logo, a flyer, a website banner, or a social media post, good design helps you communicate clearly, attract attention, and leave a lasting impression.
If you're new to design and not sure where to start, this beginner’s guide will walk you through the entire process—from forming your idea to delivering a finished piece.
What Is Graphic Design?
Graphic design is the practice of combining images, text, and layout to communicate a message. It touches almost every part of modern life—branding, advertising, web interfaces, packaging, posters, and much more.
Design isn't just about decoration—it's about solving problems visually. Whether you're promoting a product or telling a story, graphic design is your tool to do it effectively.
Step 1: Understand the Purpose
Before you jump into any software, take a moment to clarify:
-
What are you designing? (e.g., flyer, logo, website graphic)
-
Who is it for? (target audience)
-
What message do you want to convey? (inform, sell, entertain, persuade)
-
Where will it be used? (print, web, mobile, social media)
Clear objectives guide the entire design process and help you stay focused.
Step 2: Research and Inspiration
Look for inspiration from:
-
Pinterest, Dribbble, and Behance
-
Design blogs and online portfolios
-
Real-world examples (packaging, posters, ads)
At this stage, you're not copying—you’re learning what works. Pay attention to layout, color combinations, typography, and how the message is communicated.
Also, gather any brand assets you need: logos, brand colors, fonts, or previous designs.
Step 3: Sketch Your Ideas
Don’t skip this step—even a rough sketch helps! Grab a pen and paper and jot down:
-
Layout structure
-
Logo placement
-
Where to place text and visuals
-
Possible color schemes
Sketching frees you from software distractions and helps you visualize your concept.
Step 4: Choose Your Tools
For beginners, the following tools are great starting points:
-
Canva: Free, browser-based, very beginner-friendly
-
Adobe Express: Easy for quick social media graphics
-
Figma: Great for UI and web design
-
Adobe Photoshop/Illustrator: Industry standard, powerful but has a learning curve
-
Gravit Designer / Photopea: Free alternatives to Adobe products
Choose tools based on the project type and your comfort level.
Step 5: Build the Design
Now it’s time to bring your idea to life. Here's how to structure your design:
1. Set the Canvas Size
Choose the correct dimensions based on the platform. For example:
-
Instagram post: 1080x1080px
-
A4 flyer: 210mm x 297mm
-
Website banner: Custom (based on site layout)
2. Choose a Color Scheme
Use a consistent color palette—usually 2–4 complementary colors. Tools like Coolors.co can help you generate beautiful palettes.
3. Select Fonts
Stick to 1–2 fonts: one for headings, another for body text. Avoid using too many fonts—it distracts from the message.
4. Arrange the Layout
Use grids or guides to align elements. A good layout has:
-
Visual balance (not too cluttered)
-
A clear focal point
-
Space (a.k.a. white space) to let elements breathe
5. Use High-Quality Images or Icons
Avoid pixelated or stretched images. Use free resources like:
-
Pexels, Unsplash (photos)
-
Flaticon, Icons8 (icons)
-
Freepik, Vecteezy (vectors)
Step 6: Review and Refine
Before finalizing, check for:
-
Typos and grammar errors
-
Alignment and spacing issues
-
Color contrast and readability
-
Consistency in style
Ask for feedback from friends or teammates—it helps to get a second pair of eyes.
Step 7: Export the Final Design
Once you're happy with the design, export it in the right format:
-
PNG or JPG for images (web/social media)
-
PDF for print-ready files
-
SVG or EPS for logos and vectors
Use high resolution (300 DPI) for print materials and optimized sizes (72 DPI) for web or social use.
Bonus Tips for Beginners
-
Keep it simple: Don’t overdo effects or cram too much content.
-
Learn design principles: Study basics like alignment, contrast, proximity, and hierarchy.
-
Stay consistent: Fonts, colors, and styles should match across all platforms.
-
Practice often: The more you design, the more confident you’ll become.
-
Watch tutorials: YouTube and platforms like Coursera or Skillshare offer tons of beginner-friendly lessons.
Conclusion
Graphic design may seem overwhelming at first, but with a clear process and regular practice, anyone can learn it. The journey from idea to execution involves understanding your message, planning your layout, and using the right tools to bring your vision to life.
Start small—design your own social media post, create a flyer for a friend’s event, or redesign your resume. With each project, you’ll build confidence and sharpen your eye for good design.
So go ahead—pick your idea, open your design tool, and start creating. The world is visual. It’s time for your designs to speak.